We went into the boatyard in late June and spent 15 days living on the hard (in sailor speak, this means our boat was lifted out of the water, placed on jack stands, and we had to climb up and down tall stairs to get on/off the boat). Our list of boat projects was long, but our enthusiasm was high to get everything done quickly so we could get put back into the water.
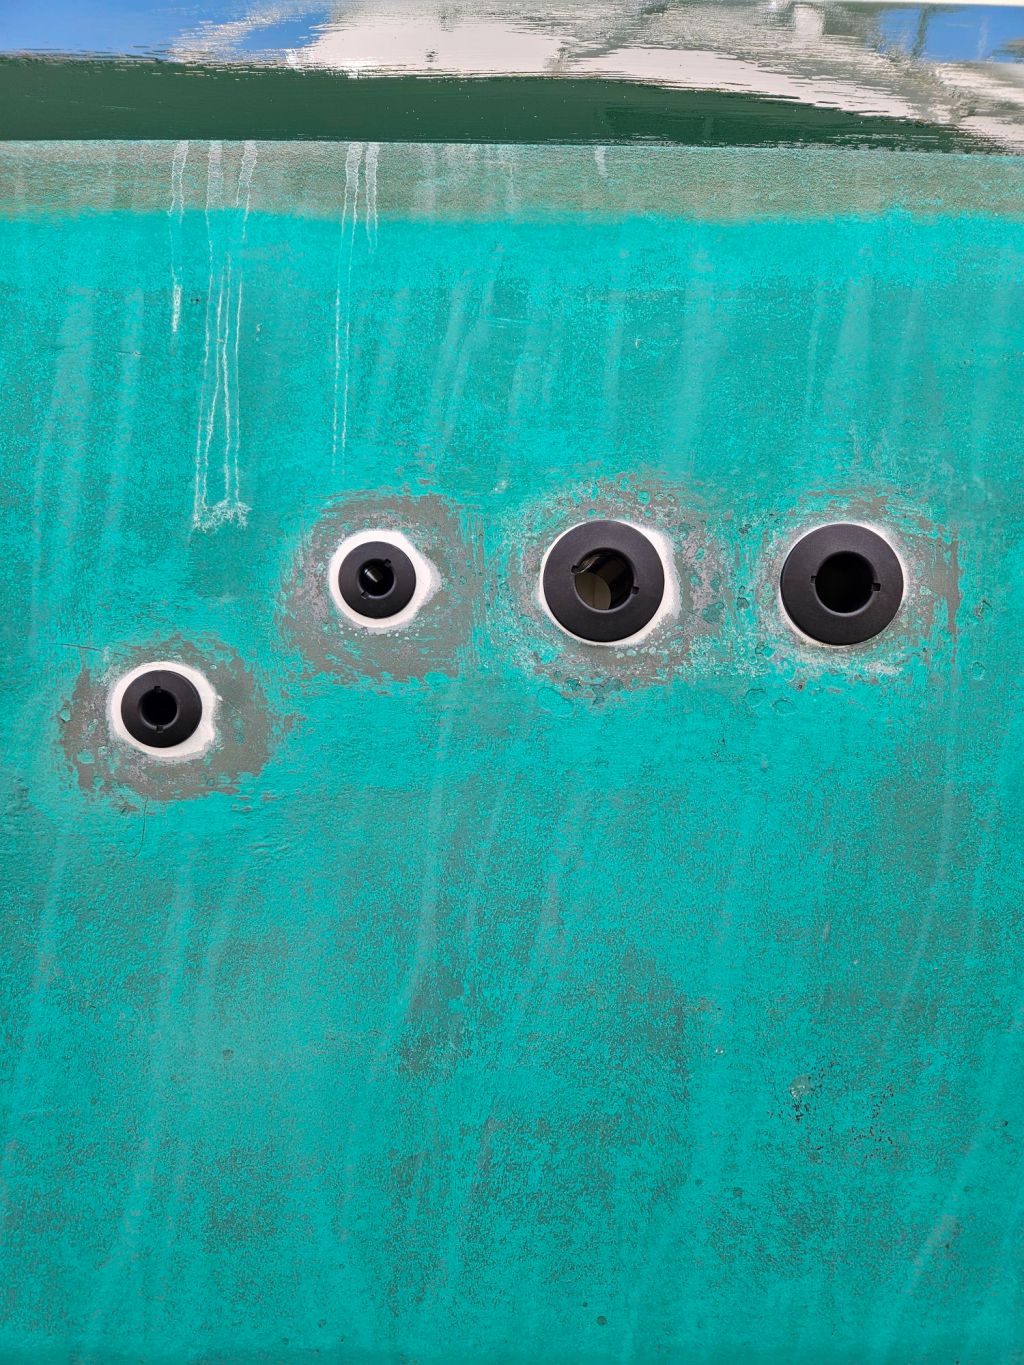
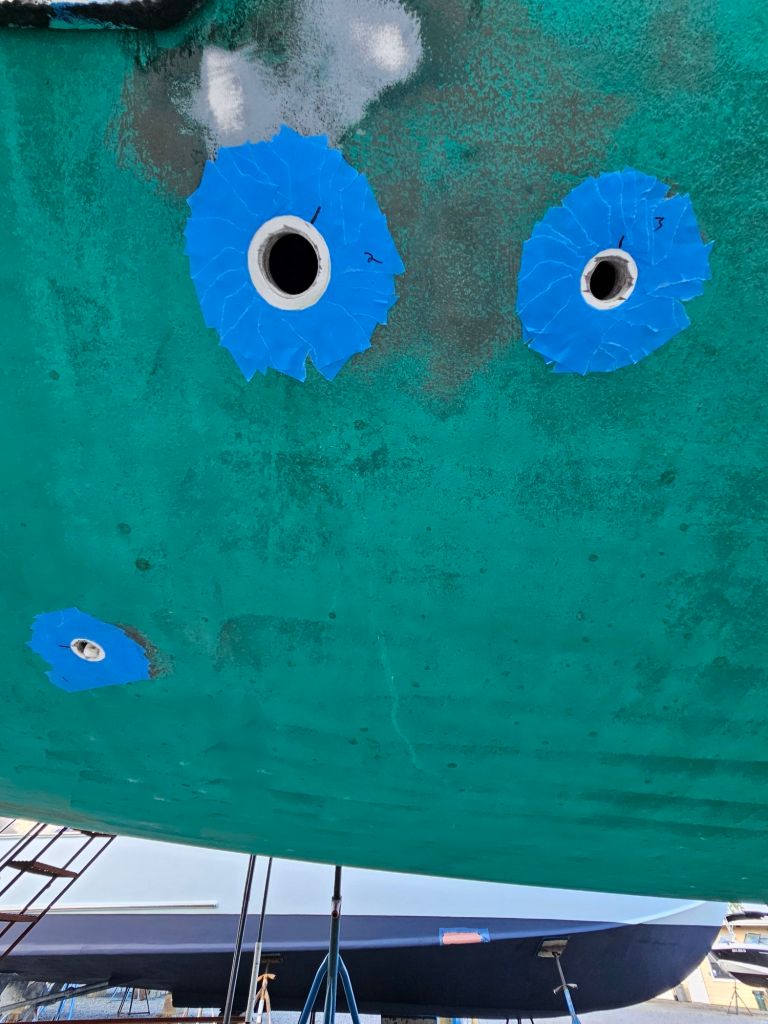
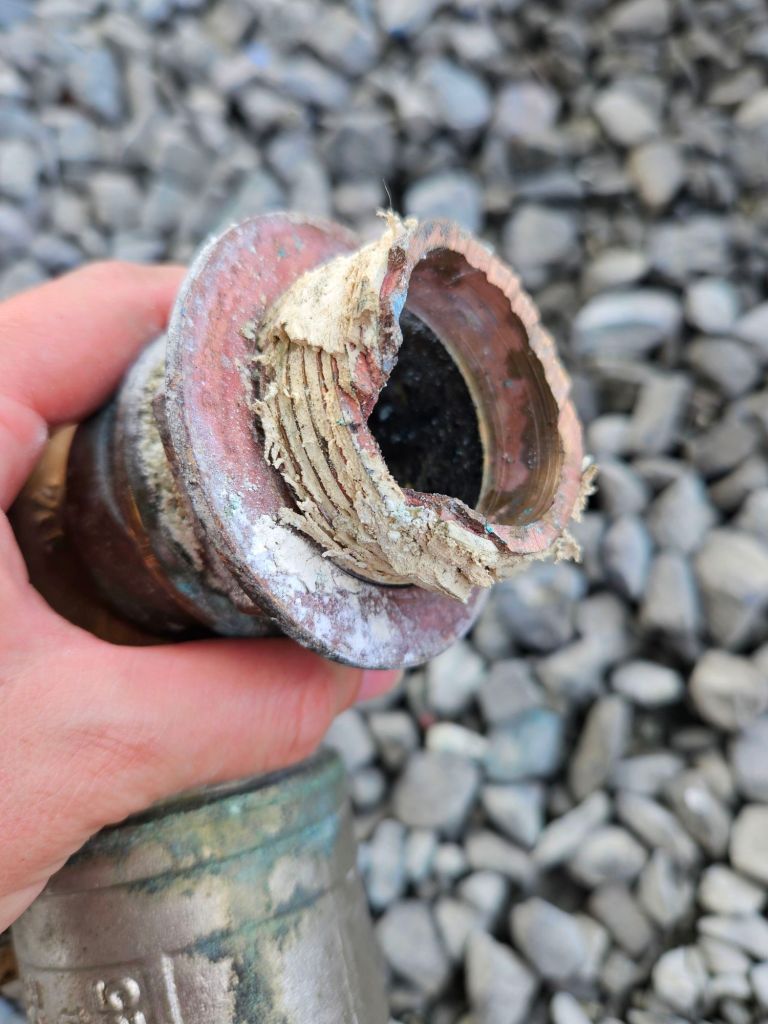
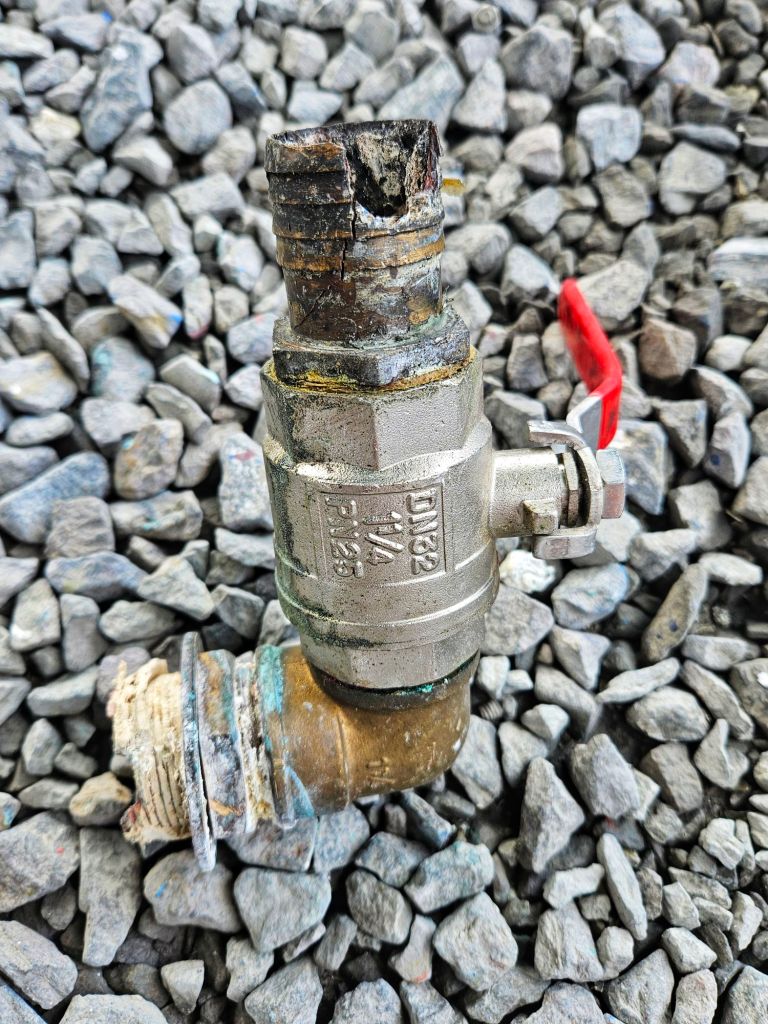
At the top of our list was new thru-hulls. They exist to allow water into the boat for everything from running the engine, generator, or our reverse cycle heater (among other things). We also need thru-hulls to send water overboard when we wash our hands or take a shower. As essential as they are, if one fails, there can be catastrophic results. Knowing the current state of your thru-hulls and the condition of the hoses connected to them is so important.
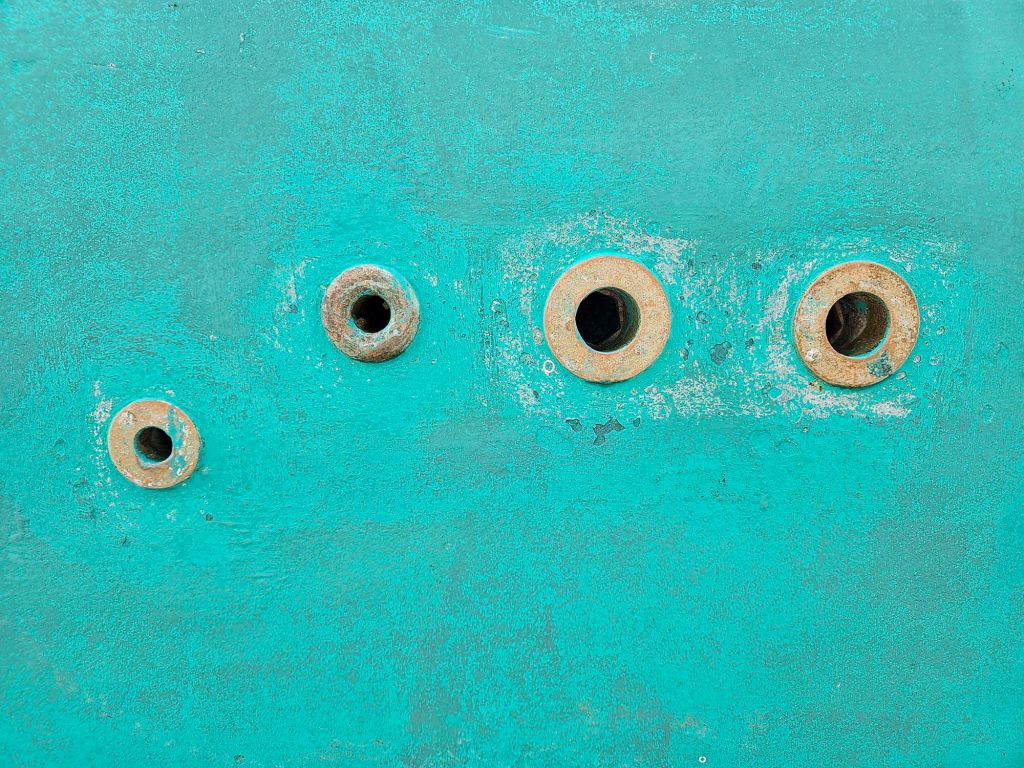
While we didn’t know the ages of all of our thru-hulls (original to our 2005 boat?), we could visually see from the inside that some of the valve handles and surrounding metal parts were looking a little rough. Metal thru-hulls eventually corrode and have to be replaced, so we did a bit of research before deciding what type of material we wanted to use for our upgrade.
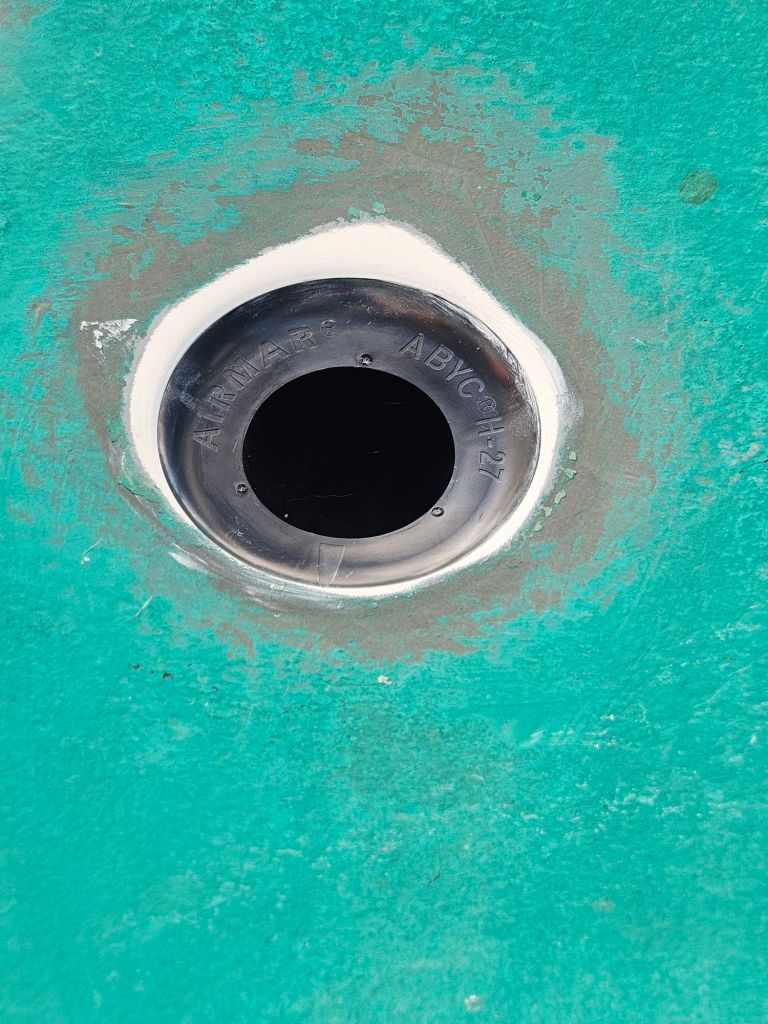
We ultimately chose Tru Design, a New Zealand based marine company that makes their thru-hulls from fiberglass-reinforced nylon composite. With no metals whatsoever in the product itself, there are no corrosion issues and the thru-hulls, in theory, could last forever on the boat. This decision really was a no brainer for us, both for their quality and our peace of mind. Just like with a solid anchor and ground tackle, few things will make you sleep better at night than knowing the places where water comes in and out of your boat have the best thru-hulls on the market.
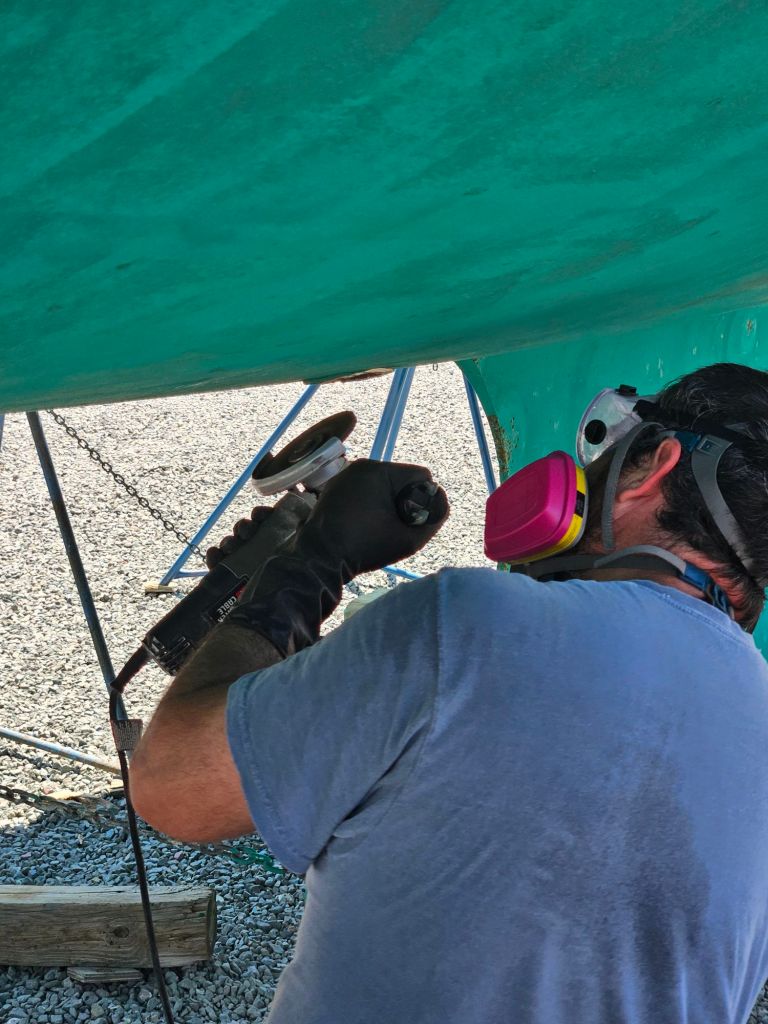
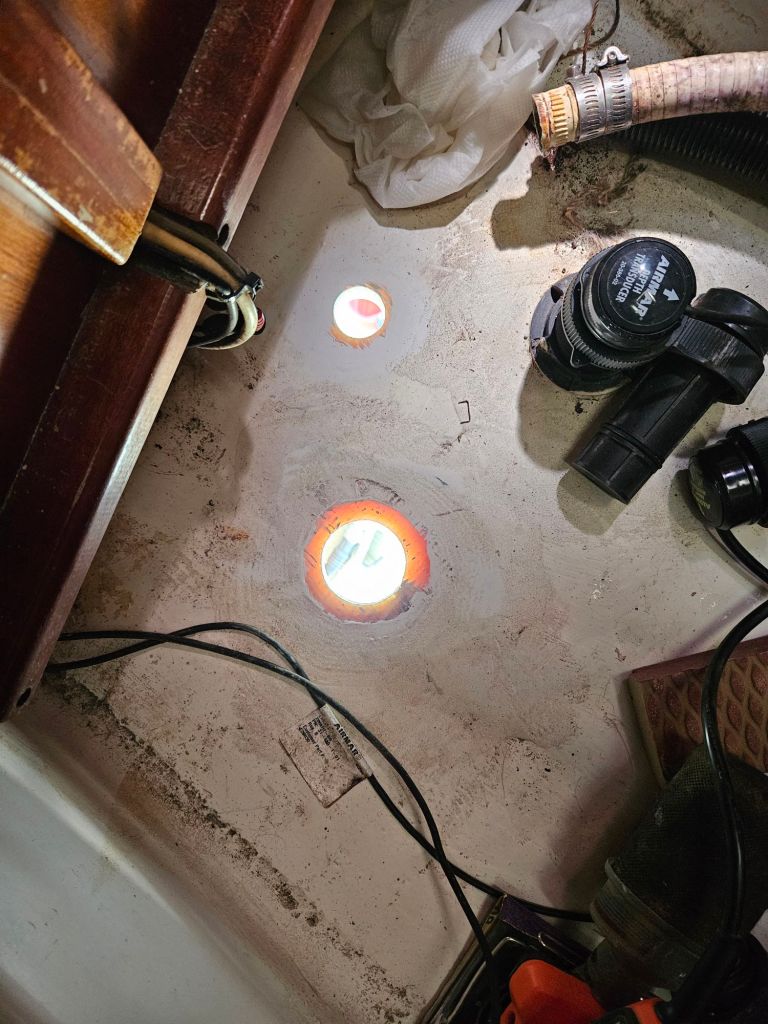
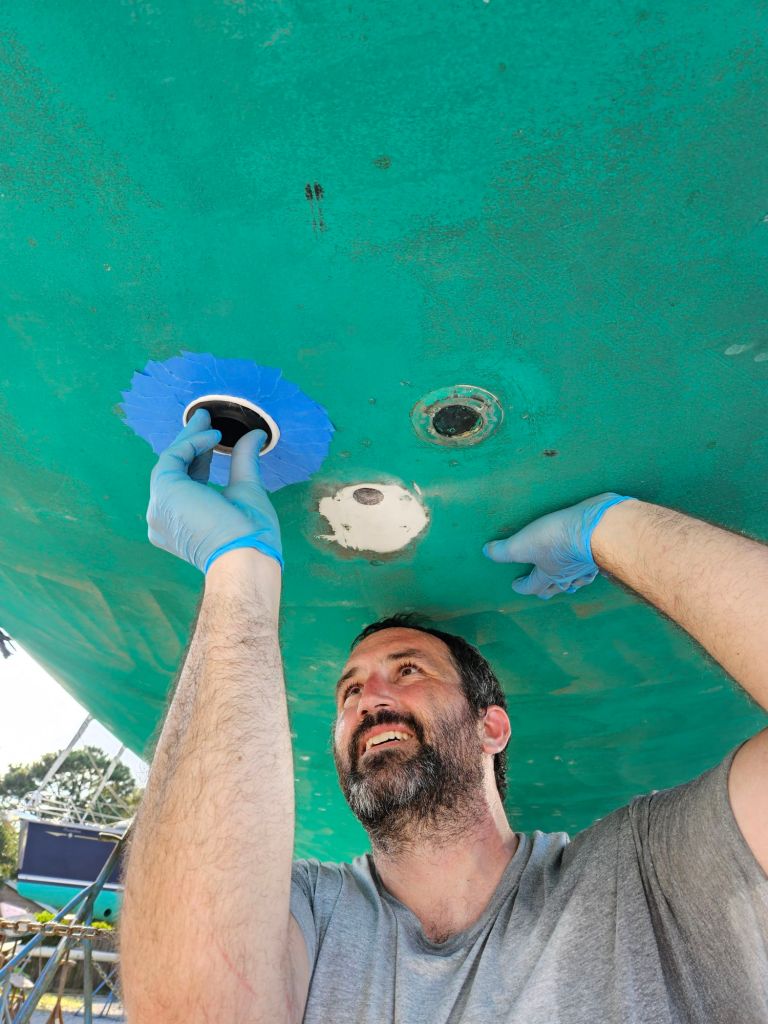
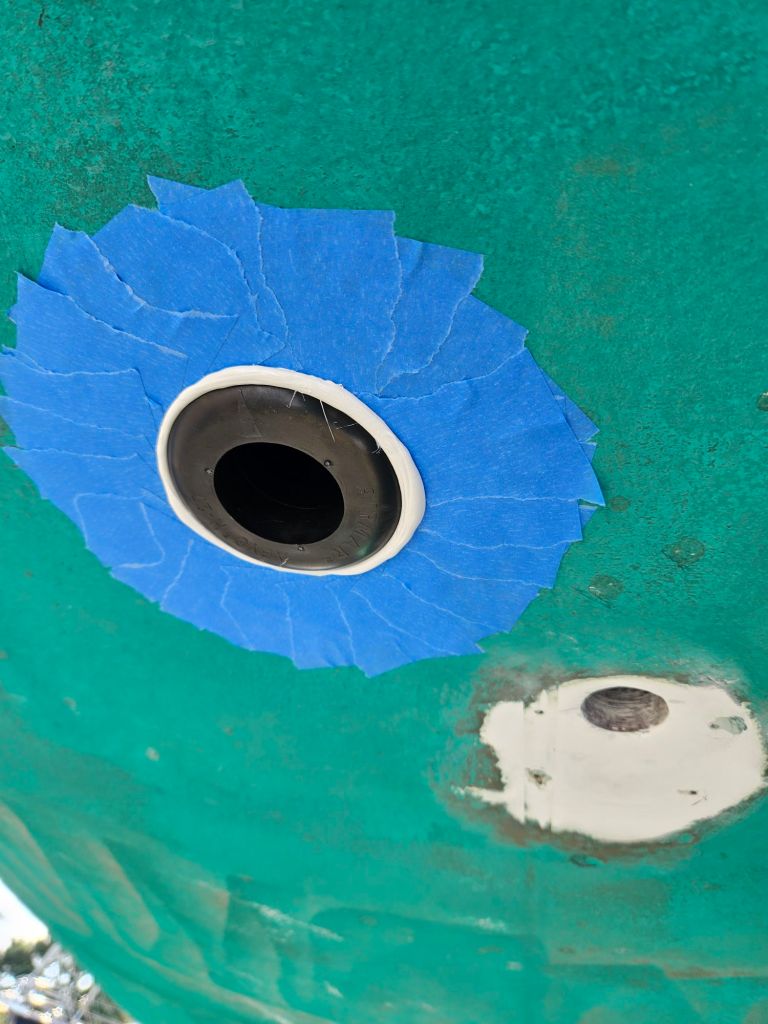
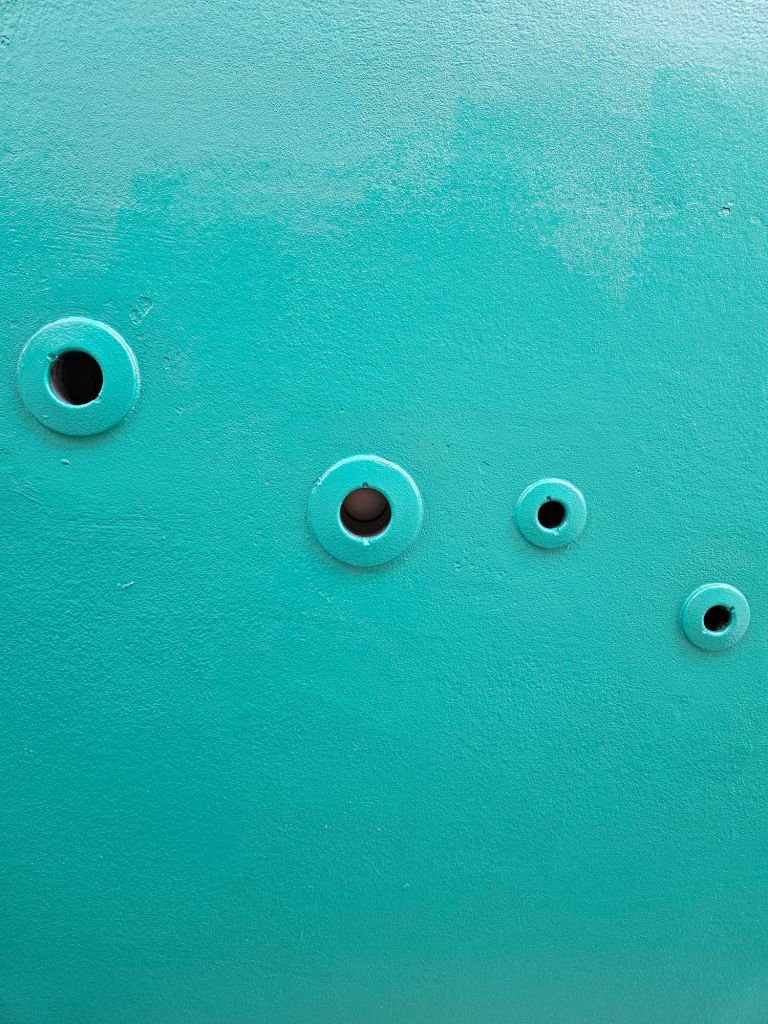
Installation was incredibly easy (once we got the old thru-hulls out, some of which were incredibly stubborn)! Paul, as usual, was meticulous in following directions for installation, which took place over the course of several days. Dry fitting took a bit of time as multiple thru-hulls that were in close proximity had to have their valve handles carefully lined up to ensure they could open/close. The actual caulking process went fast, and the final install of the ball valves on the inside was quick as well.
Our steps below are chronological for installing the thru-hulls as seen from the exterior of the boat. Final steps that took place on the inside, like the quarter turn of the thru-hull 24 hours after caulking and the install of the ball valves, are not reflected in this post.


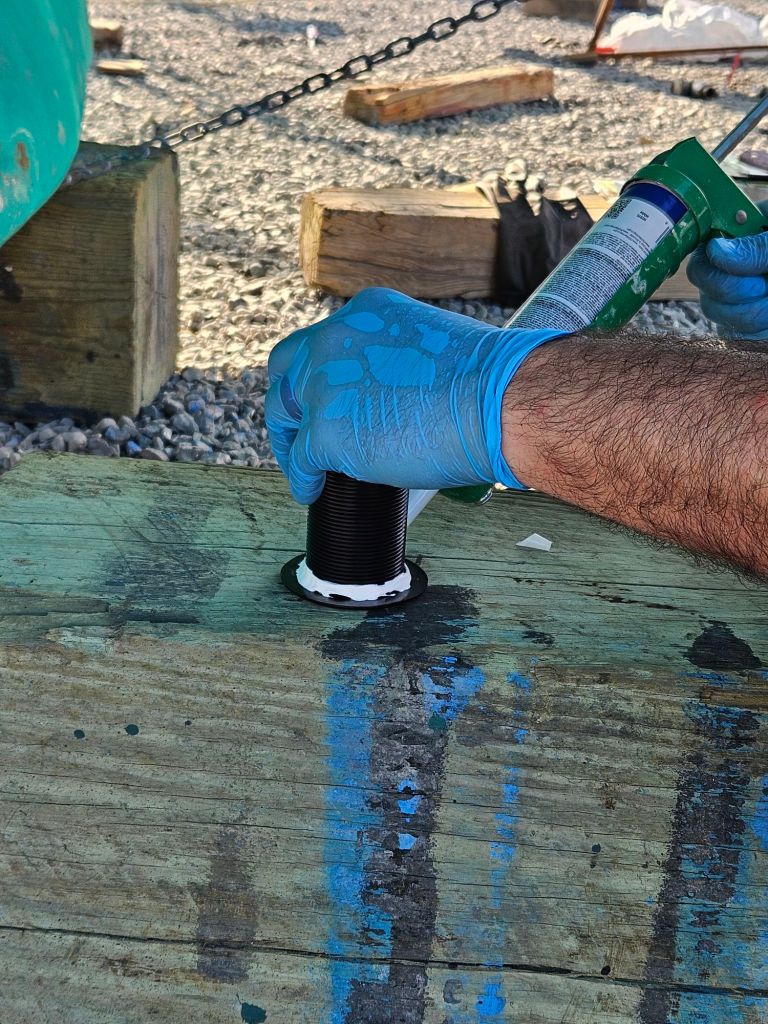


Please note: This post is for informational purposes only. Any person replacing the thru-hulls on their boat should carefully follow the manufacturer’s instructions.

Leave a comment